The worst part about self hosting stuff is not having that seamless transition between applications built by google, microsoft and others, to being able to control the data your self.
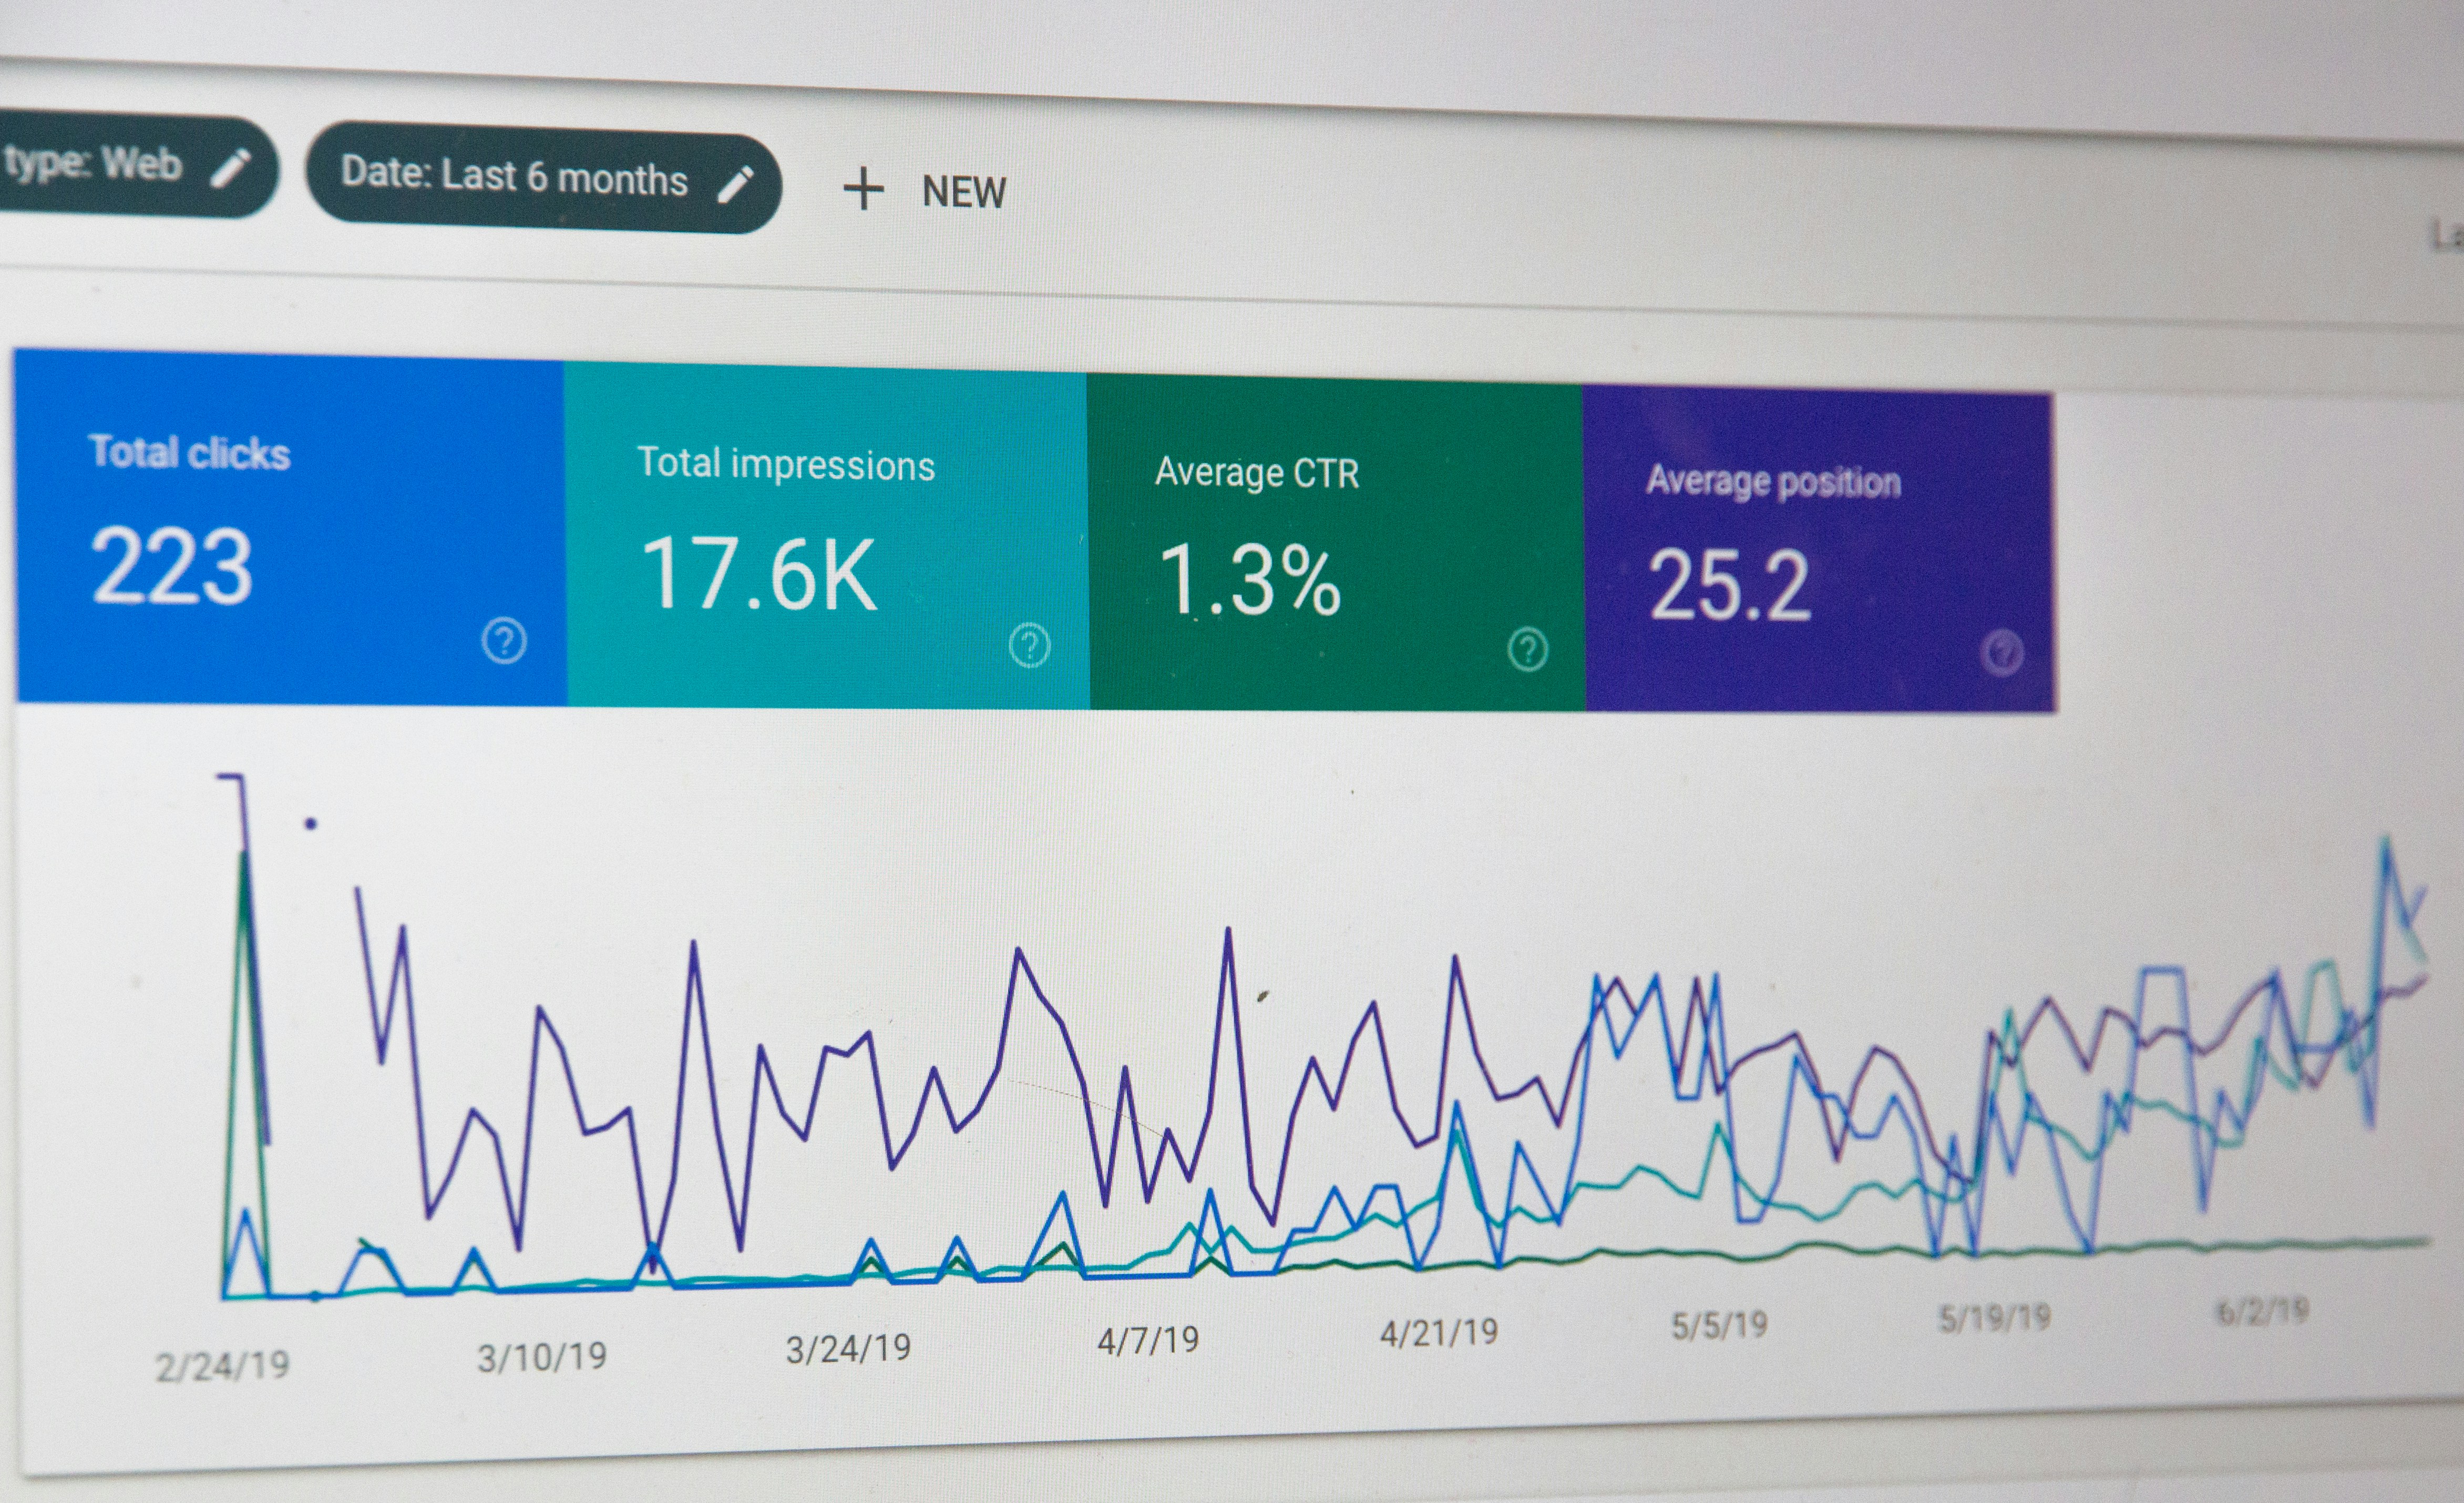
My biggest annoyance was being able to see how many hits my page got, where people came to my site from, as well as what people were searching for. This allows me to know what people like (for example most people came to my site to see me use s3 with jellyfin and nginx reverse proxy) so I can write more posts for them
Today we will look at web analytics. A controversial topic depending on who you ask.
Let’s get started.
We will be installing something called Matomo on to our web server. This server can be located on your server proxied to the outside world, or on a droplet or on AWS if you roll that way, It scales well.
What we will be installing:
nginx
mariadb-server mariadb-client
software-properties-common
(repo) ppa:ondrej/php
php7.2-fpm php7.2-common php7.2-sqlite php7.2-curl php7.2-intl php7.2-mbstring php7.2-xmlrpc php7.2-mysql php7.2-gd php7.2-xml php7.2-cli php7.2-zip
unzip
If you already have these things installed, that’s great. You can just skip the part where we need to install them. On Ubuntu (The os for my server) it doesnt hurt to install something twice.
Because I am lazy and dont like having to type sudo at the start of every command, we will start by logging in as root.
If your server is remote, you may need to connect via ssh. I have a guide!
A beginners guide to SSH
Login as root
sudo -s
Install all the software (in one go as I’m lazy and like doing it in blocks)
First add the PHP repo and apt-update
add-apt-repository ppa:ondrej/php
apt-get update
Then all the rest we need!
apt-get install nginx mariadb-server mariadb-client software-properties-common php7.2-fpm php7.2-common php7.2-sqlite php7.2-curl php7.2-intl php7.2-mbstring php7.2-xmlrpc php7.2-mysql php7.2-gd php7.2-xml php7.2-cli php7.2-zip unzip -y
Once everything is installed, edit the php7.2 config file
sudo nano /etc/php/7.2/fpm/php.ini
Find the below and change them
file_uploads = On
allow_url_fopen = On
short_open_tag = On
cgi.fix_pathinfo = 0
memory_limit = 256M
upload_max_filesize = 100M
max_execution_time = 360
date.timezone = UTC
Restart nginx
systemctl restart nginx
Now we can configure the database for Matomo.
if you already have mariadb or mysql configured, skip this step as I think it can cause issues ¯_(ツ)_/¯
mysql_secure_installation
You will be prompted to answer the below:
Enter current password for root (enter for none): Just press the Enter

Set root password? [Y/n]: Y

New password: Enter password

Re-enter new password: Repeat password

Remove anonymous users? [Y/n]: Y

Disallow root login remotely? [Y/n]: Y

Remove test database and access to it? [Y/n]:  Y

Reload privilege tables now? [Y/n]:  Y
Sweet, now we need to create a database user as well as a database for Matomo to use
login to mysql
mysql -u root -p
Now create a database called matomo (You can call your’s what ever you like)
create database matomo;
Now create a user called matomousr. Use step A if you’re running the database server on the same host, or step B if a remote server will have matomo.
A
create user 'matomousr'@'localhost' identified by 'matomo_user_password';
B
create user 'matomousr'@'<nginx_ip> identified by 'matomo_user_password';
Now we need to grant permissions for matomousr to use the database
GRANT ALL ON matomo.* TO 'matomousr'@'<localhost or nginx server ip>' IDENTIFIED BY 'matomo_user_password' WITH GRANT OPTION;
Now flush privileges and exit
FLUSH PRIVILEGES;
EXIT;
Nice, you’ve made it this far. I promise it’s alomsot over!
Download and install matomo - It used to be called ‘Piwiki’ so dont worry about the file name
cd /tmp && wget https://builds.matomo.org/piwik.zip
unzip piwik.zip
sudo mv piwik /var/www/matomo
Now we need to fix the permissions
sudo chown -R www-data:www-data /var/www/matomo/
sudo chmod -R 755 /var/www/matomo/
NGINX part
For simplicity I like to make my nginx config files names’ reflect their site url. So the file would be test.breadnet.co.uk would point to… well, you guessed it. No need to tell you :)
Before you move on, pick a subdomain for matomo to run on. I made the stupid decision of going ‘What’s the short version of analytics? huh, anal… cool.’ so pick something like tracking.domain or watcher.domain
nano /etc/nginx/sites-available/<subdomain>.yourdomain.tld
In the open window paste:
server {
  listen 80;
  listen [::]:80;
  root /var/www/html/matomo;
  index index.php index.html index.htm;
  server_name <subdomain>.yourdomain.tld www.<subdomain>.yourdomain.tld;

  client_max_body_size 100M;

  location / {
    try_files $uri /index.php?$query_string;
  }

  location ~ \.php$ {
    include snippets/fastcgi-php.conf;
    fastcgi_pass unix:/var/run/php/php7.2-fpm.sock;
    fastcgi_param SCRIPT_FILENAME $document_root$fastcgi_script_name;
  }
}
Save and exit (Ctrl + x, y, enter)
Now we canenable the site
ln -s /etc/nginx/sites-available/<subdomain>.yourdomain.tld /etc/nginx/sites-enabled/<subdomain>.yourdomain.tld
Restart nginx
systemctl restart nginx
You will need to add a DNS A record (Or AAAA record if you’re cool and use IPV6) pointing the <subdomain> part to your server’s IP address.
Opoen your browser and go to the url of your matomo instance and you’ll need to run through the setup. It’s straightforward.
Adding a site is rather simple.
Once logged in, go to the gear icon at the top right:
 Then you will see a section called
 Quick Links at the top.
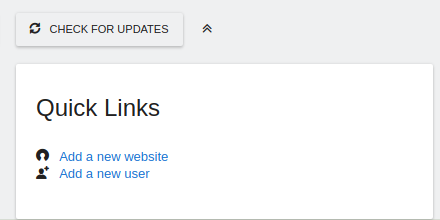 Click the
 Add a new website
Select what the site is:
 Specify the Name and the URL, then scroll down and click save.
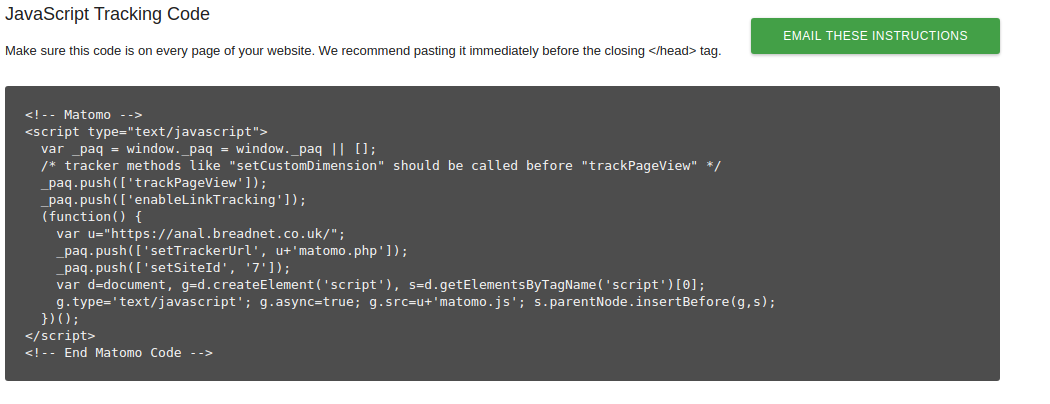
Once it’s saved, click the View tracking code section to get the secret sauce you need to add to your site
 if you scroll down you will see a box like the below. You need to add this to the header or footer of every page you want to track:
 If you have any issues or questions, feel free to get in contact!
You can hire me via Upwork or emailing me for weekend projects!