
For some reason this single task has stumped me for around 3 years till I had to basically wipe my home lab as I messed up some hard drive install procedure half juggling act.
I will be writing these instructions for Xen Orchestra but almost 99% of this can be transferred to other virtualization servers.
First we will need to start with creating a VM on your server.
I am choosing Ubuntu 18.04 as this is the current Ubuntu image I trust. generally I will move on to the latest LTS release after it’s been out for a year.
Create the VM with 1 core, 1gb ram and 10gb drive. Give it a name.

Once it’s done, run though the installation procedure as you normally would till you get to the disk options. This is where it gets fun. We need to install everything on one partition to allow for disk resizing later on
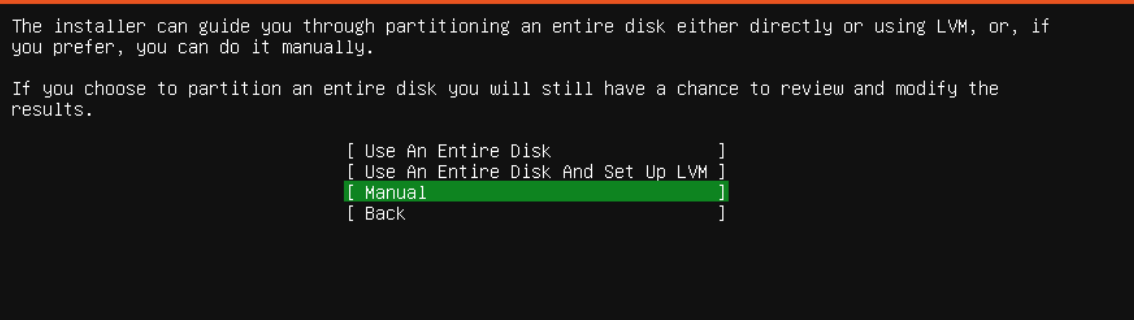
Select Manual here
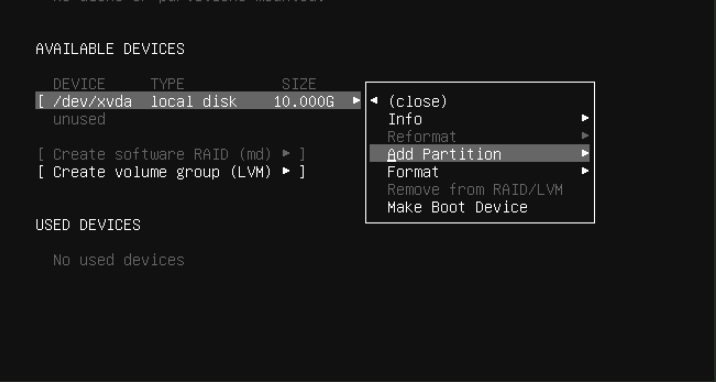
Select the disk then Add Partition
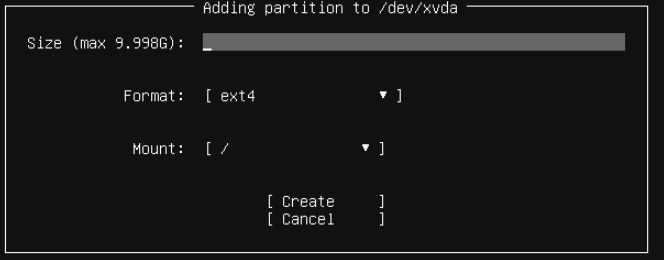
Type the available size (so in this case 9.998 )then create
Finish the installation as you usually would.
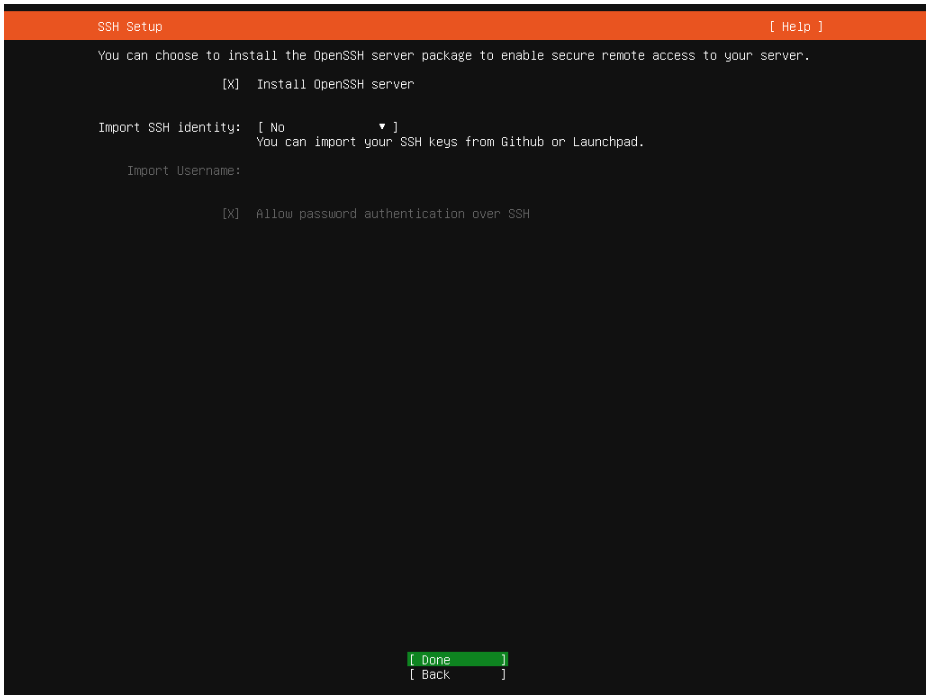 Don’t worry too much about SSH keys as this all gets wiped with
 cloud-init
Let the installation go on.
Once the installation is completed, reboot and remove the drive if instructed to.
Login to the server though either xoa’s web interface or via ssh. I find SSH is the best way.
We need to install the xen tools before we do anything. I have a one-liner I tend to run that does this
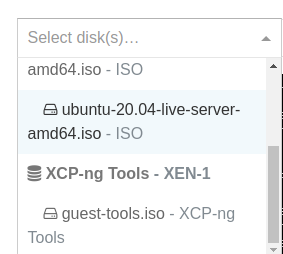
First mount the drive in xen orchestra, select guest-tools.iso
Now once we’re logged in, the one-liner
sudo -s
mount /dev/cdrom /mnt && bash /mnt/Linux/install.sh -n && reboot now
This does 3 things.
- Mount the drive at /mnt
- Run the install.sh command siletly with no input from you needed
- reboots the machine
Once rebooted, log back in and we can start with the actual cloud-init part
Now we can install cloud-init and the software needed to grow the disk when we want a larger disk
sudo -s
apt-get install cloud-init cloud-initramfs-growroot
growroot package is needed to allow us to expand the disk on the template
Now that is done, here comes the part I really have 0 clue about, and just crossed my fingers and hoped for the best. I suggest you do this via ssh, and full screen
dpkg-reconfigure cloud-init
Deselect them all, then match it to what I have below
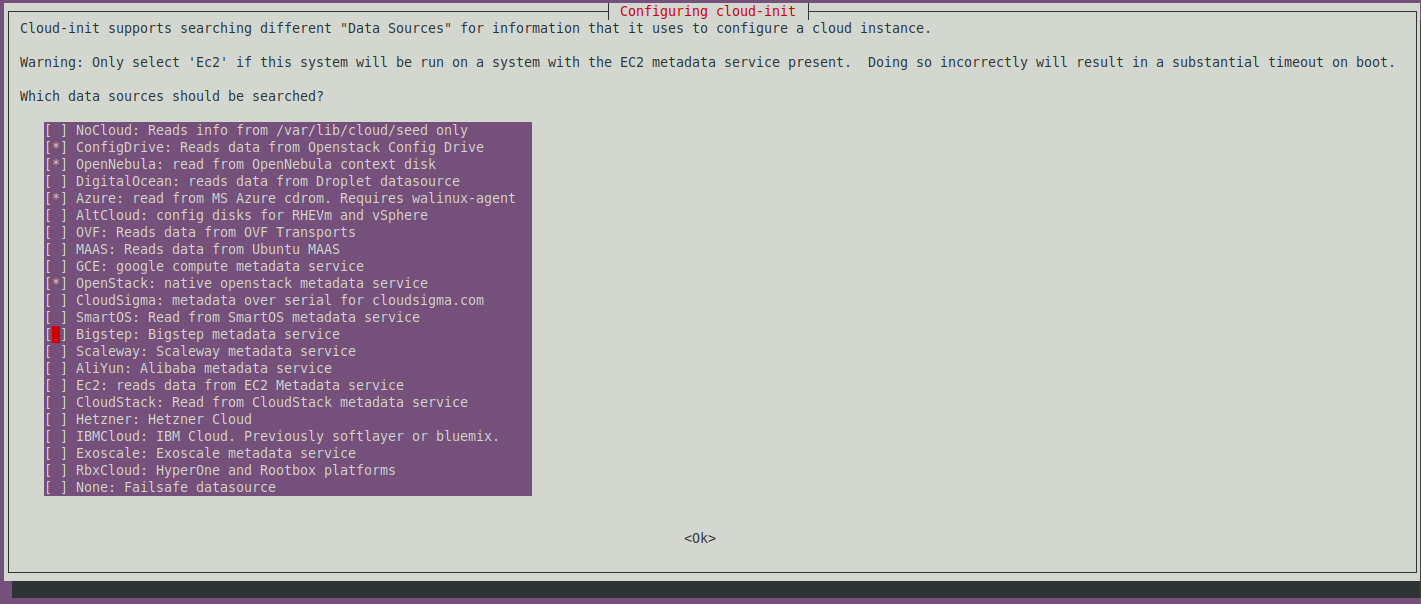
ConfigDrive, OpenNebula, Azure and Openstack (I realise the photo is too small)
I have had a very nice person reach out to me to let me know the following, which I think is veryimportant to know
After multiple failed attempts, and some debugging I found that the latest(?) Ubuntu installer overrides the effects of the
dpkg-reconfigurestep with setting datasource_list to [None] in/etc/cloud/cloud.cfg.d/99-installer.cfgRemoving the offending line (or the whole file) fixed my problems. This info may help other people who will find your post later.
Press tab, then OK
Now we need to delete a folder that has caused me so much greif over the years
cd /var/lib/cloud
rm -r instance
Run an update and upgrade for good measure and then shutdown
apt-get update && apt-get upgrade -y && sudo shutdown now
Once the VM is shut down you should see under Advanced that you can Convert to Template
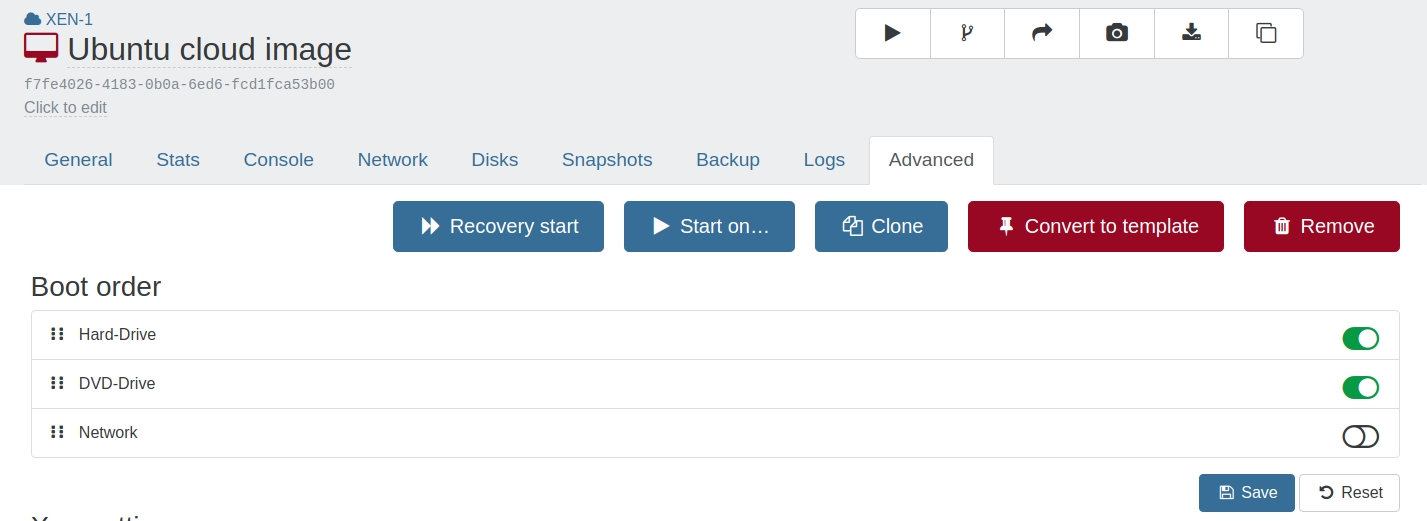 Click it.
Now when we go to create a new VM we type Ubuntu cloud image for the template name.
I highly suggest you add your main computer’s Public SSH key to XOA.
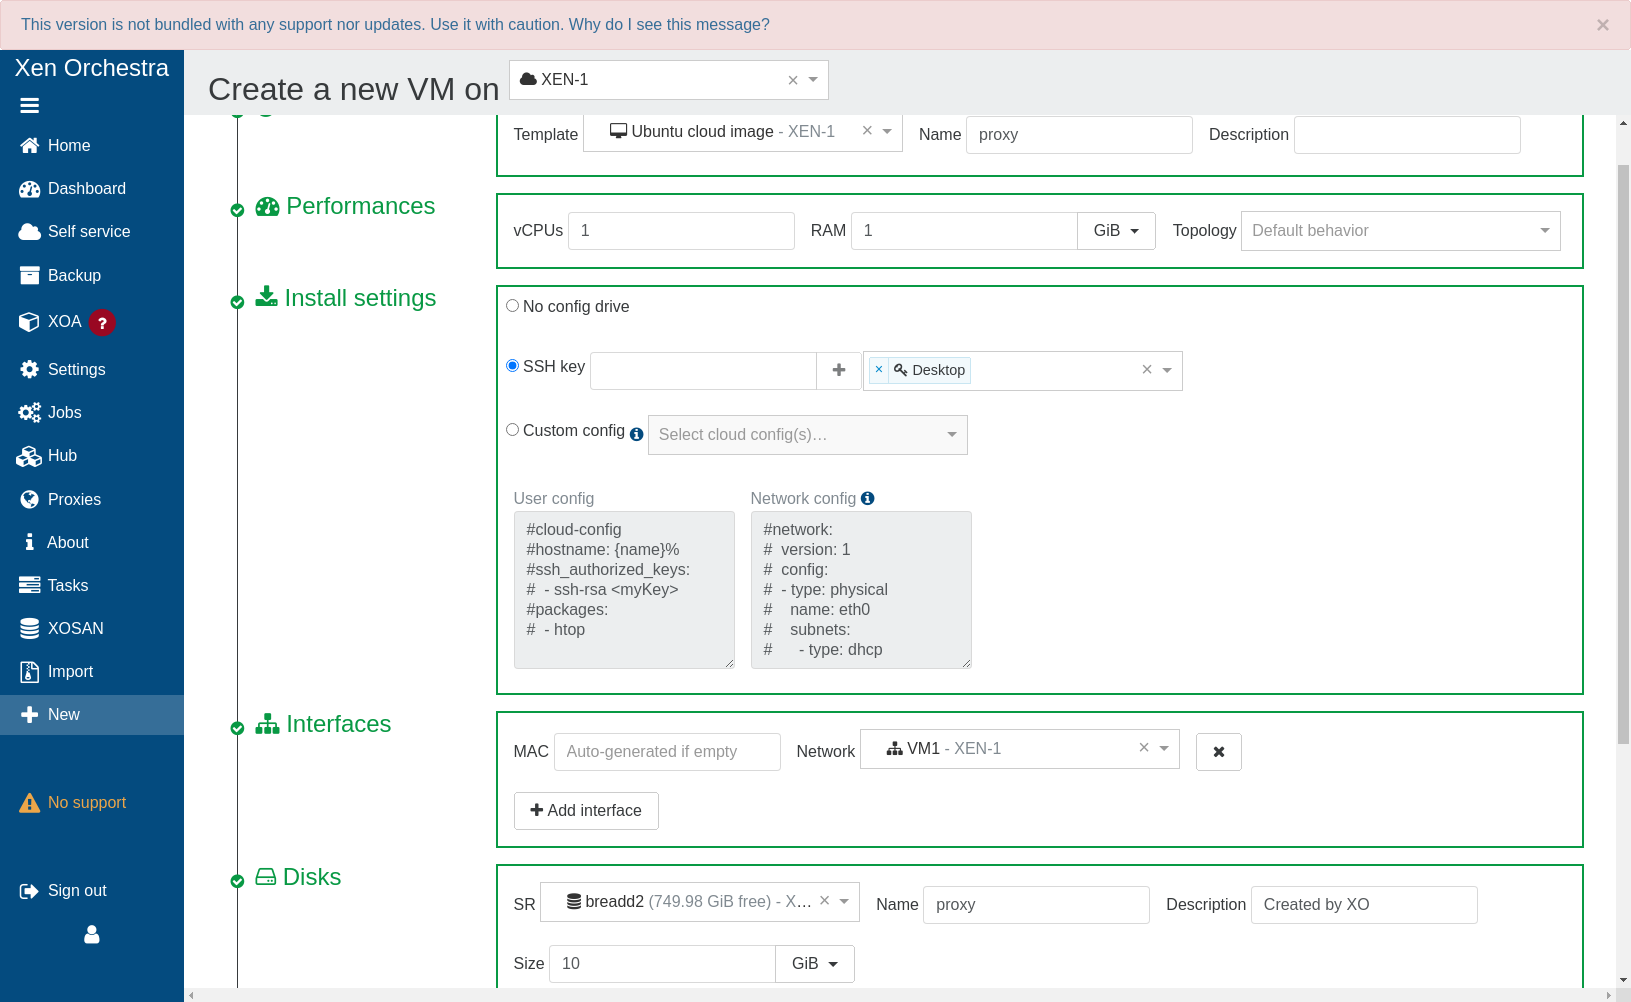
Now when you create the VM, rename the name and the disk. Add your SSH key and click create.
It should take around about 30 seconds for the VM to be created and ready to use!
You can ssh using the below as it has your SSH keys added
ssh ubuntu@IP
Ff you have questions drop me an email!
You can hire me via Upwork or emailing me for weekend projects!